Hello everyone, I know it's been a long time since I have been on here but I have some fun stuff I need to share with you this year! Hope you enjoy reading the following about my DIY bar cart transformation!
I have been on the hunt for a fabulous bar cart but haven't been willing to shell out hundreds of dollars for one...besides aren't we supposed to spend that money on keeping the bar cart well stocked anyways? ;) So after realizing that most bar carts cost quite a bit of money, I decided to look for a utility cart that I could transform into a fabulous bar cart. I hunted on Craigslist, scavenged through rummage sales and yard sales and I wasn't completely satisfied with any of my findings. One day my Dad & I decided to go to Harbor freight tools and we found a brand new sturdy steel utility cart, I fell in love with a 3 shelf utility cart & instantly envisioned turning it into my dream bar cart, so we bought it! The best part is, that we only paid $40.00 for it and it was brand new! All of the beat up, piece of crap carts I had been finding on Craigslist were $60.00 & up! So we purchased the utility cart and took it home to begin building it and transforming it. Read below on how you can create your very own DIY fabulous bar cart!
Read More
I have been on the hunt for a fabulous bar cart but haven't been willing to shell out hundreds of dollars for one...besides aren't we supposed to spend that money on keeping the bar cart well stocked anyways? ;) So after realizing that most bar carts cost quite a bit of money, I decided to look for a utility cart that I could transform into a fabulous bar cart. I hunted on Craigslist, scavenged through rummage sales and yard sales and I wasn't completely satisfied with any of my findings. One day my Dad & I decided to go to Harbor freight tools and we found a brand new sturdy steel utility cart, I fell in love with a 3 shelf utility cart & instantly envisioned turning it into my dream bar cart, so we bought it! The best part is, that we only paid $40.00 for it and it was brand new! All of the beat up, piece of crap carts I had been finding on Craigslist were $60.00 & up! So we purchased the utility cart and took it home to begin building it and transforming it. Read below on how you can create your very own DIY fabulous bar cart!
 |
| Built & Transformed into this! |
 |
| Cart purchased from Harbor Freight Tools--> |
Supplies:
- 3 shelf utility cart Click here to see it!
- Sand paper, sander
- Wipes to wipe off sand residue from cart
- 2 cans of Rustoleum metallic Spray paint in "Antique Brass" Click here to buy it!
-Plastic or newspaper to cover the surface you plan on painting your bar cart on
Step 1:
Take all the pieces of the utility cart out of the box. Do not start building the cart, begin by sanding the 3 shelf pieces. Once the 3 shelves are sanded down well, spray paint the inside of the shelves. Let the shelves dry.
Step 2:
Assemble the utility cart together, following the instructions that are included in the box. Assemble everything except do NOT attach the side handle bar or the wheels.
Step 3:
Once you have completed step 2 sand down the cart, sanding off as much of the original red paint color as possible. Do not sand the inside of your freshly painted shelves. We used a wet sander to really get some of the paint off. Once it is sanded and wiped down with a wipe to remove any remaining sand residue, spray paint the entire cart. When you are spraying make sure you are using even strokes and giving the cart plenty of time to dry in between layers. Also make sure you paint the underside of your shelves!
Step 4:
One the cart is dry from painting it, attach the handle bar and wheels to the cart and then spray paint the handle bar and fixtures to match the rest of the cart. Also paint the nails and screws that you used to attach the wheels so that they match the cart. Let the cart dry and air out for at least 24 hours before placing the cart in your house (the paint odor can be very strong!). Once the cart is dry, then you can begin decorating it and placing items on it!
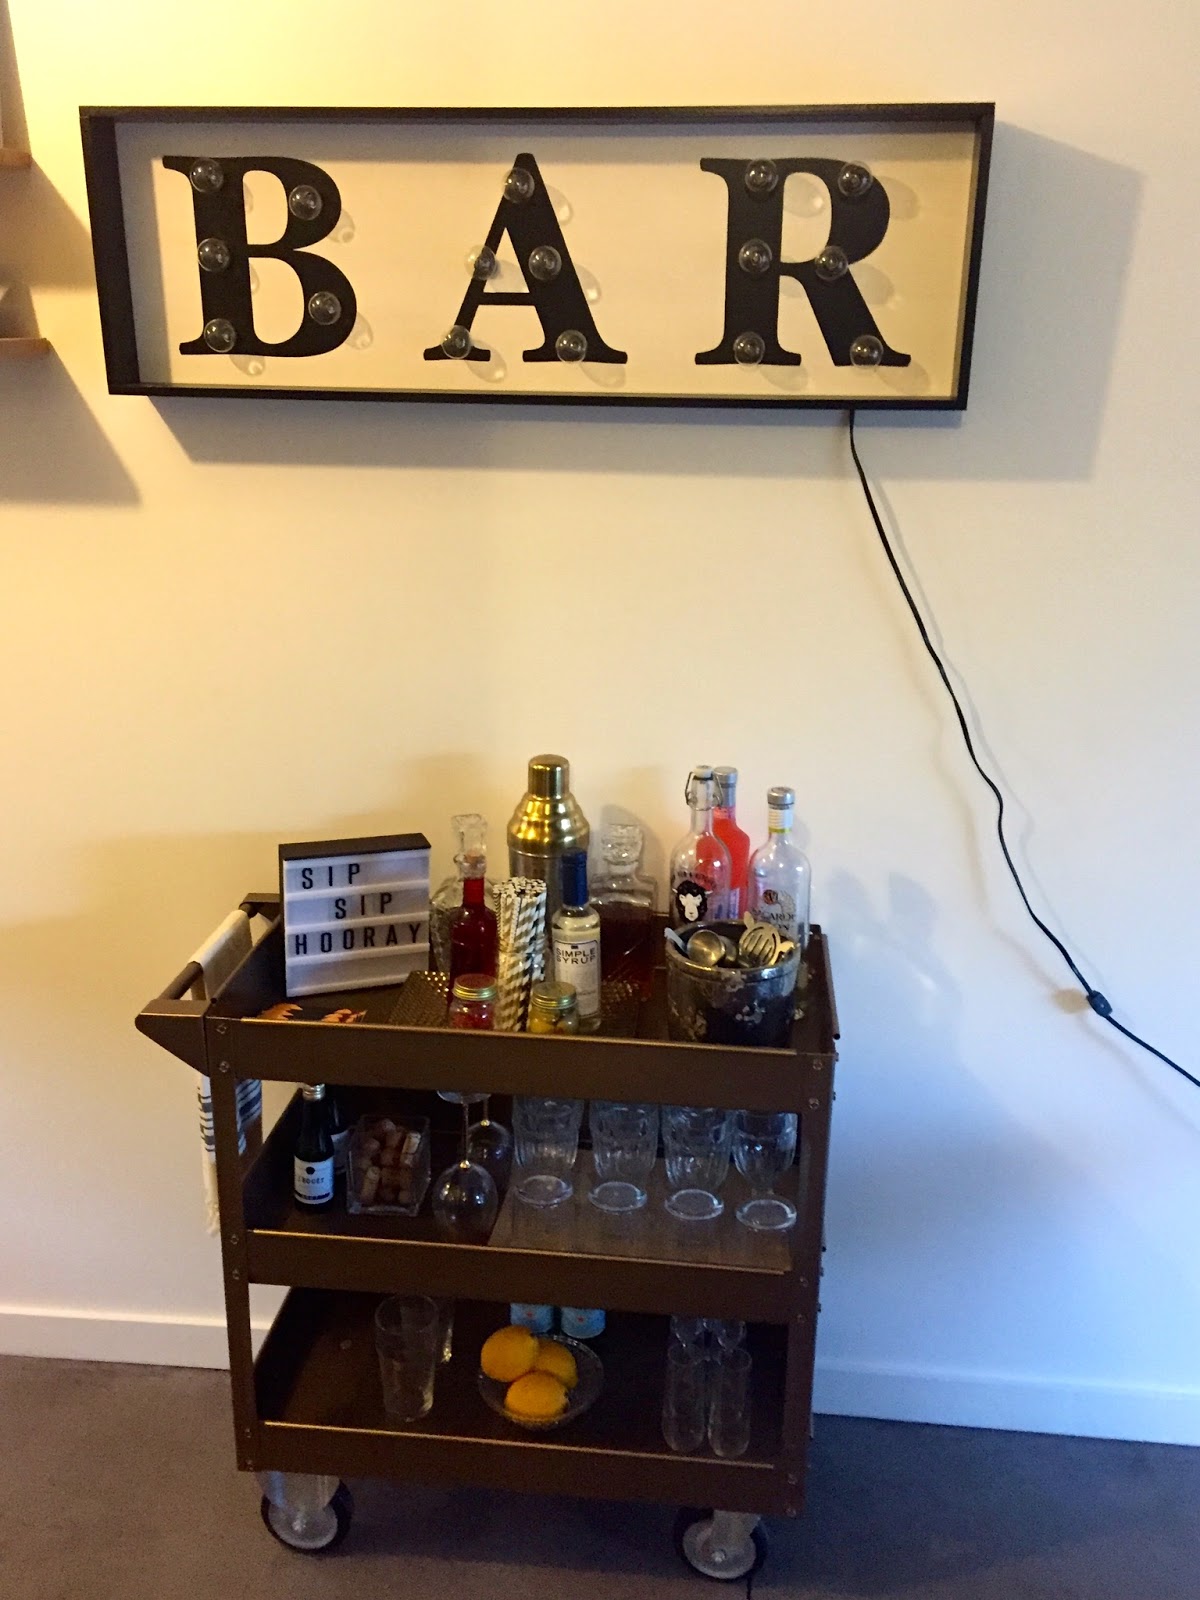 |
| Now The fun part! Decorate your bar cart! |
 |
| After steps 1-4 were completed, letting the cart dry and air out |