
Supplies Needed:
- 12 blank white textured cards
- 12 blank matching envelopes
- Washable Watercolor set (You don't need to buy a fancy set)
- 1 paint brush
- 1 black writing pen by ek tools (1 end 0.55mm & 1 end 1.2mm)
- 1 gold writing pen by ek tools (1 end 1.0mm & 1 end 1.0mm)
- Paper towels
- Cup full of water
- Heavy books

STEP #1:
Lay out a paper towel and place an open card face down on the paper towel. Lightly dip your paint brush in your cup of water and dip the brush into your maroon watercolor paint. Paint the bottom section of the right side of your face down card about a 1/4 way with this color. 

STEP #2:
Dip your paint brush into your cup of water and dip your brush back into the same maroon colored water color paint, making it more watery. Paint another 1/4 section right above your last painted section but ensuring that this sections color is lighter.
STEP #3:
Dip your paint brush into your cup of water, swishing it around and drying the brush with a paper fowl to remove the maroon color from the brush. Lightly dip your paint brush back into the cup of water and dip the brush into a pink colored watercolor paint. Paint another 1/4 section right above your last painted section on your card. 

STEP #4:
Dip your paint brush into your cup of water and dip your brush back into the same pink colored watercolor paint, making it more watery. Paint the last 1/4 section at the top of your card but ensuring that this sections color is lighter than the previous sections. 
STEP #5:
Lightly pat your completely watercolor painted card dry with a paper towel and place it underneath a book so it will dry flat and not curl. Leave under the book for 30-45 minutes. Once the time has passed if the card still feels wet, leave it by a window so natural sunlight can dry it. Repeat this process to make more cards.


STEP #6:
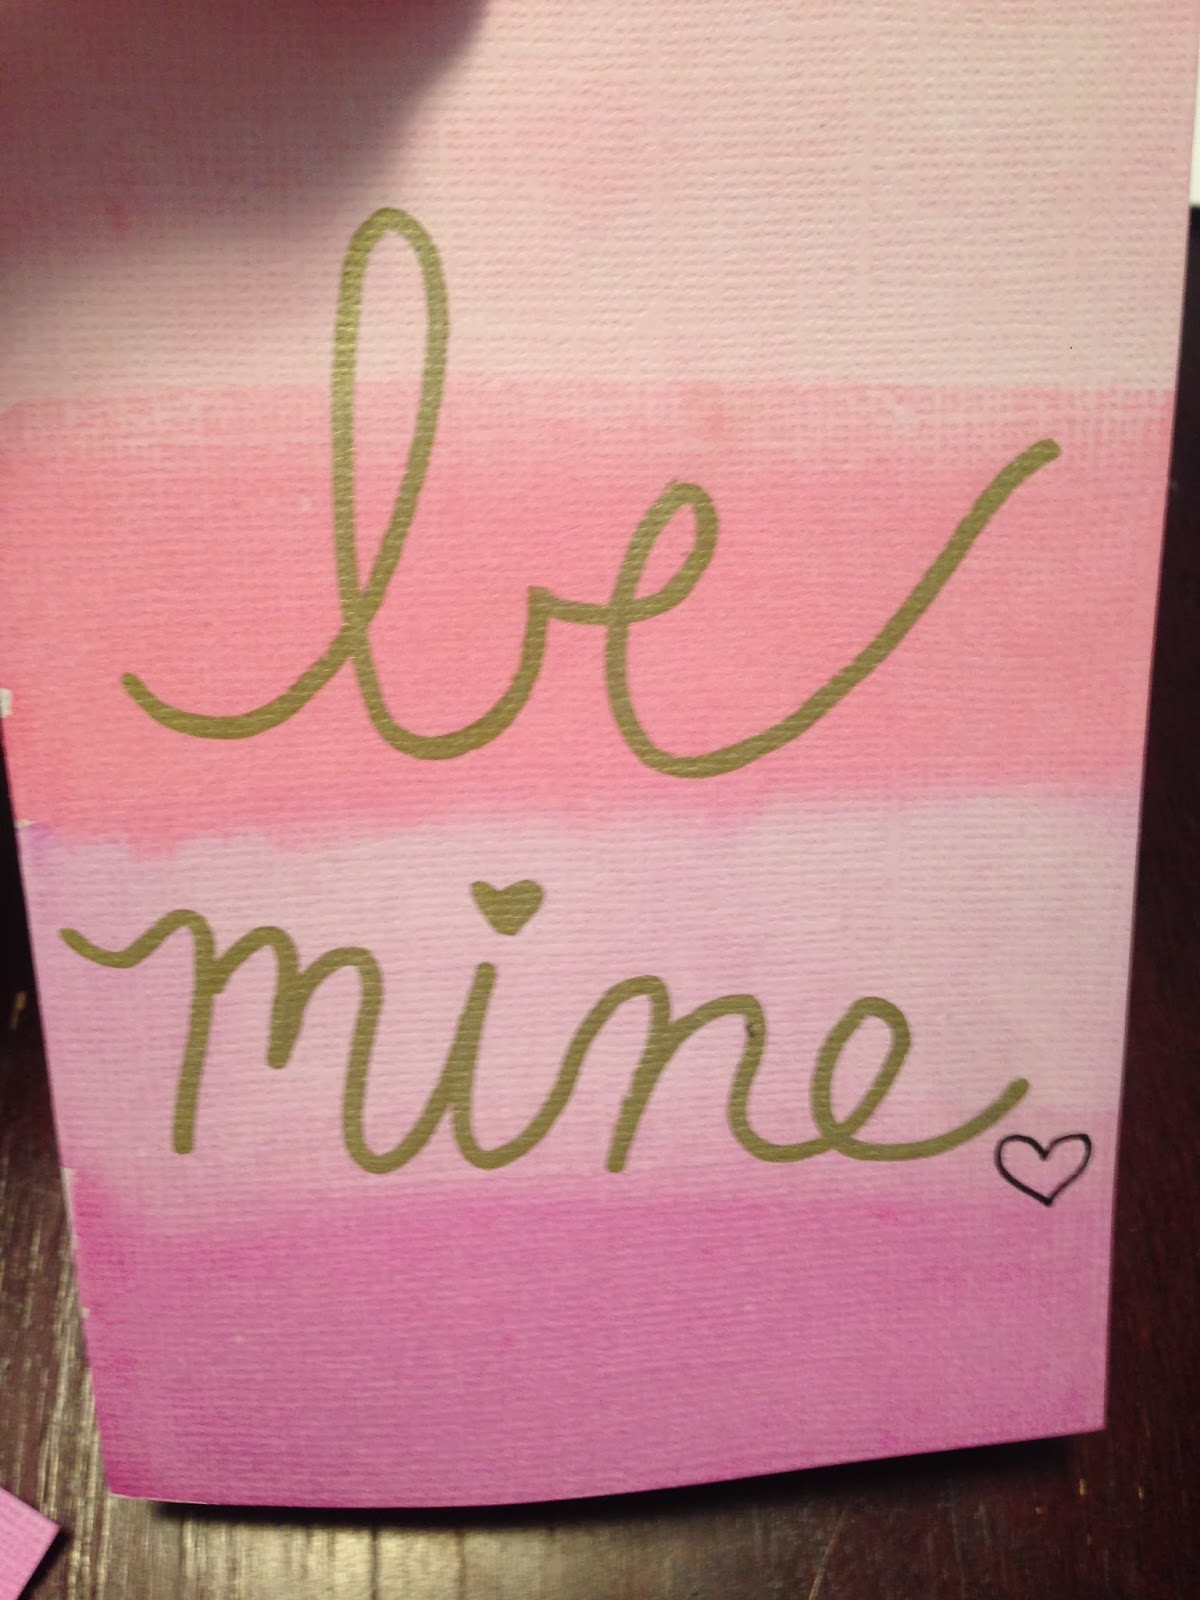
Once your card has completely dried use your black and gold writing pens to draw a design on the face of your card. You can use your imagination to design whatever message you want for the face of your card or you can print My V-Day Card Designs and hold your card up to a window and trace my designs! Once you have completed the designs on the face of your card, write your very own personal message inside and mail them out! I chose to stuff heart shaped confetti in my cards before sealing them out to make them a little more fun to receive :)


Hope you enjoyed making them and I hope your loved ones enjoy receiving them! :) Happy Valentine's Day!

0 comments:
Post a Comment