Gluten Free Recipes and DIY ideas fashioned by a Brunette.

Showing posts with label fall. Show all posts

Monday, November 25, 2013

DIY Fall Votive Mason Jars- A Thanksgiving Centerpiece

I love mason jars! They are perfect as candle votive holders and placing a few jars together makes a perfect table centerpiece. Below I show you how to create a Fall look with your mason jars that can be used as a simple and elegant centerpiece for your Thanksgiving table. Hope you enjoy!

DIY Fall Votive Mason Jars


 Supplies Needed:

  • 3 mason jars (I bought mine at Dollar Tree)
  • 3 ivory votive candles
  • Brown Spanish Moss
  • Ivory Twine
  • Fake floral berries (I found mine on the arrangements that my fall leaves from above were on) 


Directions:
  1. Unscrew the lids off your mason jars, remove the center canning parts and keep only the rim to screw back onto the top of your jar. 
  2. Cut three sections of berries 1.5-2 inches long from your floral arrangement. Cut three pieces of 3-4 feet of twine. 
  3. Make sure your lids are off your jar and grab a handful of spanish moss and stuff it into each one of your jars. In the center of the moss, burrow a small hole where you can put your votive candle so it will sit up straight and evenly.
  4. Once all jars have moss and votive candles situated in them, screw your lids (without the center) back onto the jars. Grab one piece of twine and wrap it around the gold rim of your mason jar holding one edge of the twine in your hand, after you have wrapped it around where now the other edge of the twine meets, tie a loose knot with 1 inch of space between your knot and the lid of the jar. 
  5. Place one section of berries into the space between the jar lid and knot. Now grab the ends of your knot, pulling the berries onto the jar lid very tightly. Tie another knot so the berries are securely fastened to the jar lid. Cut any remaining ends of the knot. Repeat with remaining jars. 
  6. Once all jars have berries and twine fastened to them,  light your candles and place jars where desired to enjoy! :) 
Pictured below: 1-burrowed moss with votive candle in it,  2-berries left on fall arrangement that I cut into sections to use, 3- completed fall votive mason jar 


Read More

DIY Glitter Fall Leaves

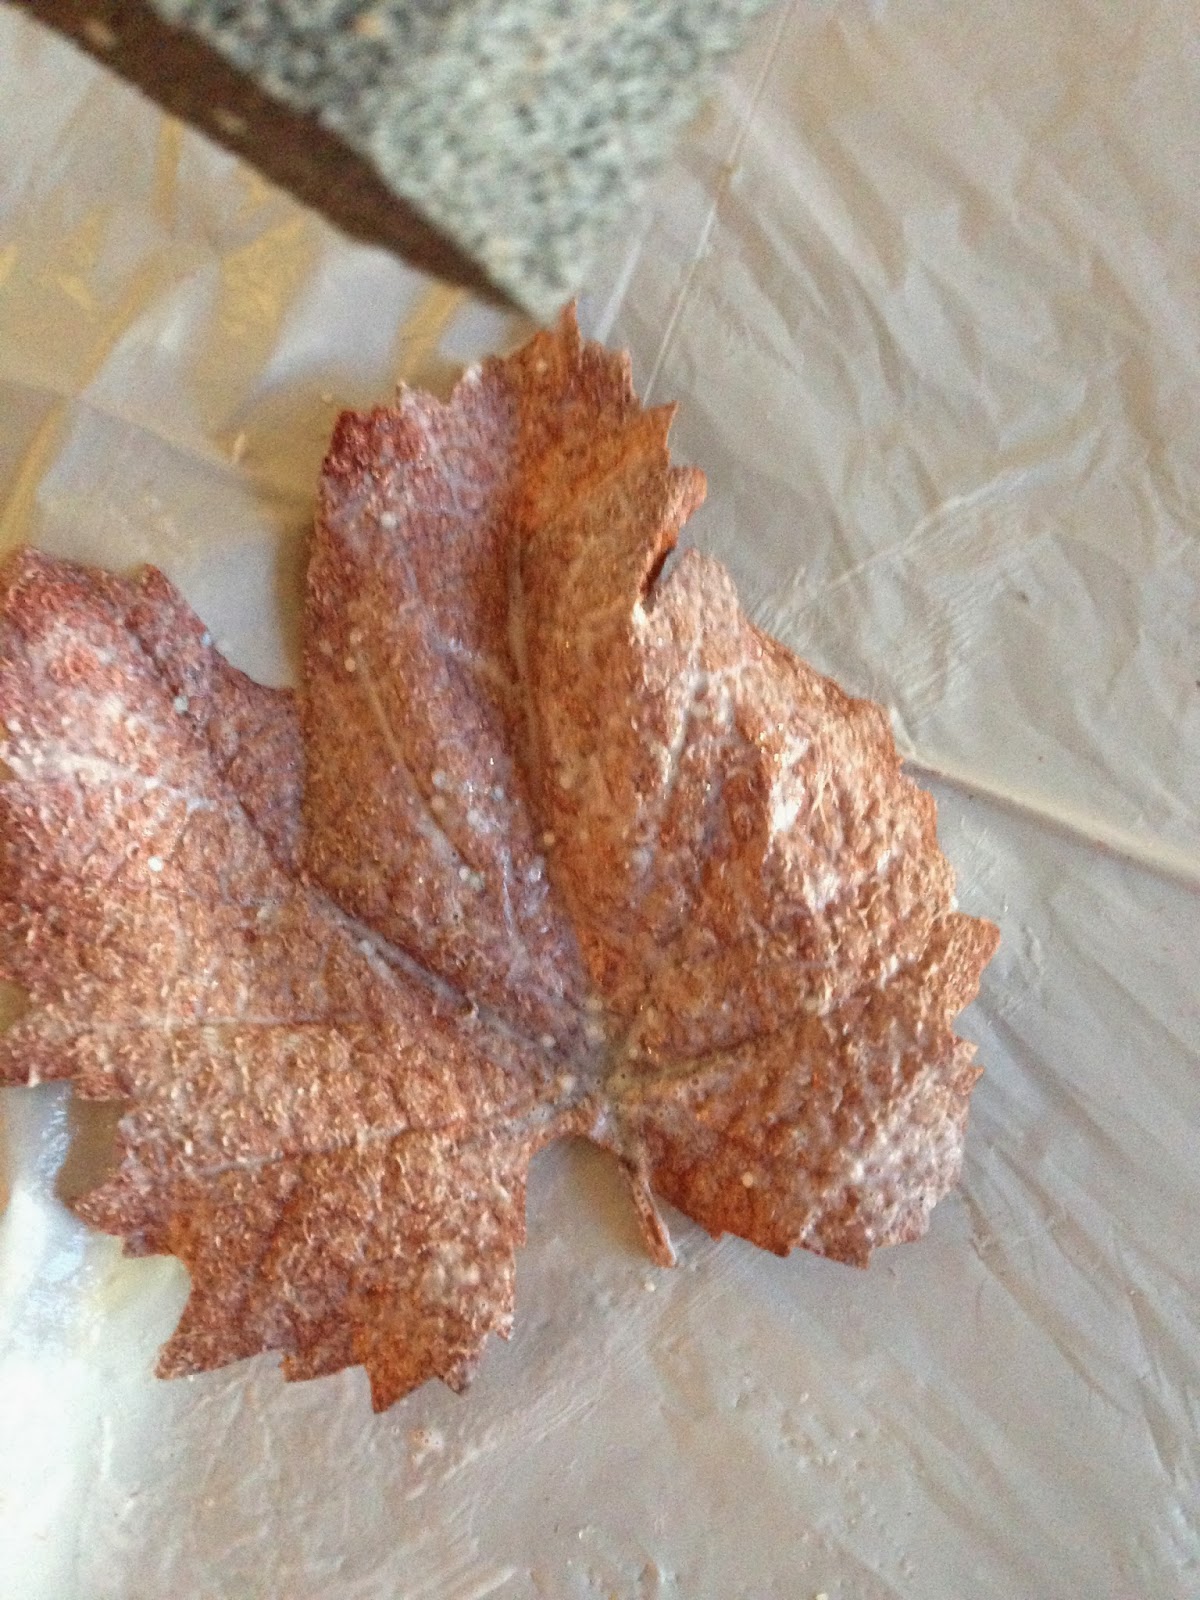
For Thanksgiving I always love to make the dinner table festive with Rich Fall hues before we have to jump right into Winter! For my Thanksgiving table setting I purchased an ivory colored table cloth and a roll of Burlap Ribbon that I placed across the middle of my table, to draw just the right amount of attention to the center. The burlap ribbon is a subtle color and allows you to place a centerpiece of your choice in the middle.  Whether you're placing a vase full of Fall flowers, a pumpkin or candle arrangement in the middle of your table the burlap ribbon makes for a perfect table runner. Here are instructions for how to make fake glitter leaves; these are perfect to toss onto your Thanksgiving table and add just enough sparkle to jazz up your table setting!

DIY Glitter Fall Leaves 


Supplies Needed:

  • Fake floral leaves 
  • Mod Podge
  • Sponge Brush
  • 3 different colors of extra fine glitter 


Directions: 
  1. Cut your desired fall leaves from fake flower arrangements and lay them out on a covered surface.
  2. Using sponge brush,  paint surface of a leaf with mod podge. 
  3. Pour extra fine glitter onto the mod podge covered surface of leaf. Repeat with remaining leaves, changing up the glitter color until all leaves are glittered. Let leaves sit for 15 minutes.
  4. After leaves have sat for 15 minutes, pick leaves up and shake the loose glitter off onto your covered surface. 
  5. Let leaves dry for 2 hours until the glue has fully dried, before placing the leaves on your set table be sure to shake them once more for any loose glitter. (If you don't want to worry about any loose glitter falling off your leaves you can always paint another coat of mod podge over the glitter layer to seal it all in; just make sure you decide to do this a good amount of time in advance before your dinner so that the top coat covering the glitter can fully dry.) 
Pictured below: 1-Remove fake leaves, 2-coat leaf with mod podge, 3-cover mod podge surface with glitter

Read More

Wednesday, October 23, 2013

Recipes from my Pumpkin Carving Party

This weekend myself & my roommates had our second pumpkin carving party. We set up tables covered with plastic table cloths (makes clean up super easy), tea light candles for our guests to put in their pumpkins, plastic gloves so our guests don't have to get dirty when cleaning out the pumpkin guts and we placed many decorated paper bags that contained carving supplies in them. All we asked of our guests is that they bring their own pumpkin and we provide everything else including yummy gluten-free treats and cocktails! Once everyone was done carving their pumpkins we had a bonfire in the back yard with s'mores. It's perfect since the nights have been getting cooler. Thought I would share with you some of the gluten-free favorites from our party,  hope you enjoy!


Something Salty...
Warm Chili Cheese Dip Recipe
  Ingredients:
  • One big block of Kraft Velveeta Cheese (32 oz)
  • One Can of Hormel Chili with Beans
  • 3/4 pound of drained, cooked turkey meat
  • Tortilla Chips
Directions:
Step 1: Cut your Velveeta cheese into small squares and place in a crock pot.

Step 2: Open can of Hormel chili With beans and drain just a little bit so the juices on top drain out. Pour the can into the crock pot on top of velveeta cheese. 

Step 3: After you have drained and cooked your turkey meat place it in the crock pot with cheese and chili. Place the crock pot lid on top of the ingredients and turn crock pot on low; be sure to stir the dip often(about every 40 minutes) and check that it's not burning on the sides! 

Step 4: Once the ingredients have cooked together and the cheese has melted to become a smooth, dip-like consistency it's ready to eat!  Keep crock pot on low or turn it off for your guests to enjoy warm and yummy dip. Serve with tortilla chips & enjoy! 

Something Sweet...
Mini Caramel Apples
  Ingredients:
  • Miniature Organic Granny Smith Apples from Trader Joe's, they come in a bag containing 10 for only $2.49
  • 1-2 bags of square caramel candies
  • 2 tablespoons of milk
  • 1 wooden skewer
  • 12-15 lollipop sticks (4.5'')
  • Parchment paper
  • Cookie sheet or large serving platter
Directions:
Step 1: Unwrap all of your caramel candies and place them in a double boiler pot on top of the oven on medium-high heat. Add 2 tablespoons of milk to the caramel. Carefully continue to stir the caramels. 

Step 2: While the caramels are cooking, take your mini apples out of the bag and remove the stems. Once all the stems have been removed, insert the wooden skewer into the top of the apple where the stem was, pushing it deep into the apple;  remove the skewer and place a lollipop stick where the skewer was. Place your apple with the lollipop stick to the side. Repeat this process with remaining apples. 

Step 3: Cover cookie sheet with parchment paper. Place your apples with lollipop sticks on to the parchment covered pan. Once your caramels are completely melted into a liquid consistency, pour the caramel into a tall bowl. Take your apples and dip them into the caramel shaking them to remove the excess caramel layer thats at the bottom of the apple. Place the caramel covered apple onto the parchment paper covered pan. Repeat this process with remaining apples until all apples are covered in caramel. If the caramel becomes thick near the end place it in the microwave for 30-60 seconds so it becomes thinner and easier to dip the apples in. 

Step 4: Once you have dipped all your apples in the caramel, carefully cover the apples on the pan with plastic saran wrap and place the apples in your refrigerator so the caramel hardens onto the apples. When you are ready to serve them, remove the apples from the parchment paper and place on whichever plate you desire to serve them on and enjoy! 

& Something Bubbly..
Champagne + Spiced Cider
Ingredients:
  • Brut Champagne
  • Spiced Cider from Trader Joe's
  • Empty clear wine bottle 
  • Funnel
Directions:
Step 1: Right before your guests arrive pour champagne through the funnel into the clear glass bottle. Be patient as the champagne bubbles out, fill the clear glass bottle 3/4 full. 

Step 2: Shake up the spiced cider, using the funnel pour the spiced cider into the clear glass bottle entirely filling up the bottle to the top. Do not shake the mixture! Pour into glasses and enjoy! 
Read More

Meet the Brunette Blogger...

Powered by Blogger.

© The Brunette Bible, AllRightsReserved.

Designed by ScreenWritersArena