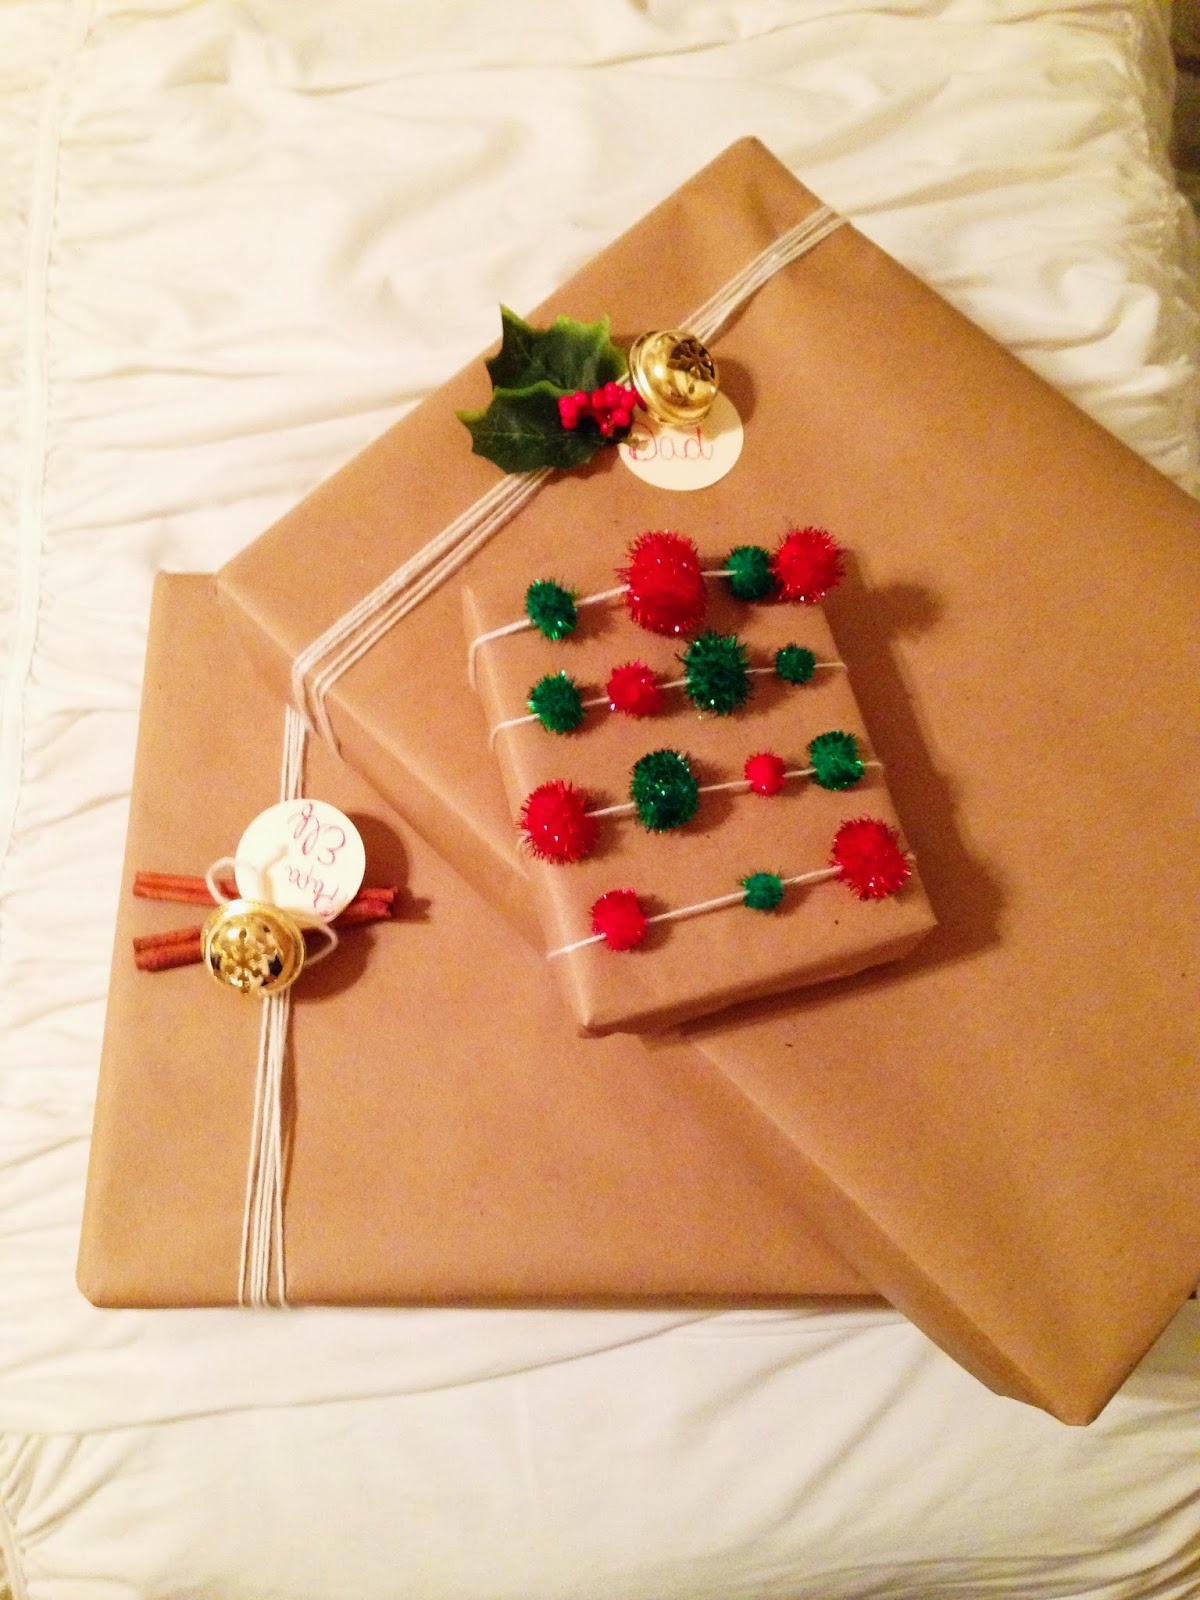
I cannot believe Christmas is so soon! This year I decided to get a little more creative with my gift wrapping but in an inexpensive way. I went to the dollar store and purchased plain brown wrapping paper and jazzed up each of my brown paper boxes with festive tie ons.Read below to learn how to make 3 different gift wrapping tie ons that I added to my brown boxes! Hope you enjoy! :)


Read More
Holly Berry Gift Wrap Tie On

Supplies Needed:
- Ivory Yarn
- Large Gold Jingle Bells (I bought mine from Dollar Tree)
- Fake Holly florals (I bought mine from Dollar Tree)
- Hot Glue gun
- Blank Circle cardstock Tags

Directions:
Step 1: Wrap your gift in your brown wrapping paper. Cut a piece of yarn long enough to wrap around your box 4-5 times.
Step 2: String a jingle bell onto the very end of the piece of yarn, then string your circle tag (with the filled out name written on it). Wrap your yarn around the box until both ends meet in the middle of your box. [see photo below]
Step 3: Cut a piece of holly from your fake floral piece, place one of the holly leaves above the yarn and one leaf under the yarn so it lays flat on your wrapping paper, placing the leaves in the middle of your box near the loose ends of the yarn. Carefully hot glue down the leaf laying flat on your wrapping paper. [see photo below]
Step 4: Take your ends of the yarn and tie the bell & tag directly next to your holly leaves. Double knot your yarn so it is secure and cut any loose ends. Your tie on is now complete!


<---Step 2 Step 3--->
Cinnamon Stick Gift Wrap Tie-On

Supplies Needed:
- Ivory Yarn
- Cinnamon Sticks (I bought a bag for $1 at Hobby Lobby)
- Large Gold Jingle Bell
- Hot Glue Gun
- Blank Circle Card stock Tags
Directions:
Step 1: Cut a piece of yarn long enough to wrap around your box 4-5 times.
Step 2: String a jingle bell onto the very end of the piece of yarn, then string your circle tag (with the filled out name written on it). Wrap your yarn around the box until both ends meet in the middle of your box. [see photo below]
Step 3: Take two cinnamon sticks and hot glue them together, then glue them flat onto your wrapping paper in the middle of your box placing the sticks on top of your yarn but leaving the loose ends of the yarn out. [see photos below]
Step 4: Take your ends of the yarn and tie the bell & tag directly on top of your glued down cinnamon sticks. Double your yarn so the bell and tag are secure. Yay!


Pom-Pom Tie-On

Supplies Needed:

- Ivory Yarn
- Tinsel Green & Red colored poms poms of various sizes
- Embroidery needle
- Tape
Directions:
Step 1: Cut a piece of yarn long enough to wrap around your box 4-5 times (depending on size of the box)
Step 2: Thread one end of your yarn into the embroidery needle about an 1.5 inches down, fold over the yarn. [see photo below]
Step 3: Pierce poms-poms with your embroidery needle and string them down to the end of your yarn, continue to string pom-poms until you have a good amount on your string. [see photos below]
Step 4: Remove your needle and tape that end of the yarn to the back of the box. Roll your yarn to the front of the box and move the pom-poms along your string of yarn to have some on top of your box, spacing the pom-poms apart. [see photo below]
Step 5: After you have completed a row of pom-poms on top of your box wrap the yarn to the back of the box, then wrap the yarn around to the front of the box and move your pom-poms along the string of yarn to the top of your box again. Repeat this step until you have enough rows of pom-poms covering the front of your box. Once you're done covering the front of the box with the pom-poms, tuck the end of the yarn on the back of the box and tape it down. Yay! [see photos below]