
Supplies Needed:
- Two large, wide-mouth glass mason jar (or whichever sized mason jar you choose to use)
- One bottle of metallic silver acrylic paint (or color of your choice)
- One medium sized paint brush
- One foam brush
- Bottle of glossy mod podge
- Silver glitter (or color of your choice)
Directions for Metallic Jar:
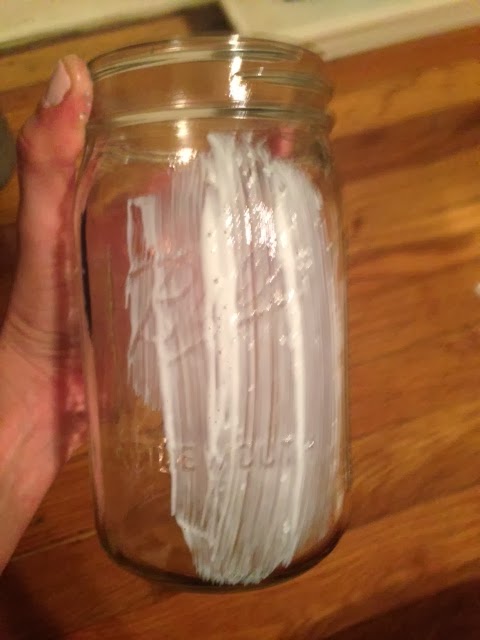
- Take the lid off of your jar and squeeze some paint into the bottom of the jar.
- Using your paint brush, brush the paint all around the interior of the jar, coating all the sides and areas of the jar in even strokes. Look at the outside to see if you missed any spots.
- Once you have completely coated the inside of the jar with paint, let the jar dry for 4 hours.
- Check on your jar after the 4 hours and if you still see spots missing paint, repeat steps 1-3 again. Then your jar should be completely metallic colored and ready to use!
- **If you are using your Jar to store food, you will want to spray the inside with a clear protective glaze like this one by Krylon (<-- click here)**


Directions for Glitter Jar:
- Using your foam brush, dip it into the mod podge and spread an even coat of mod podge all over the outside of your other jar. Be careful to not paint mod podge on the mouth of the jar!
- Over a covered surface take your glitter and sprinkle it all over the outside of your jar, covering all spots of the mod podge. Rinse out the mod podge from your foam brush and let it dry.
- Once you have completely covered the outside of your jar, let it sit for 45 minutes. After you have let it sit for 35 minutes, pick up your jar and shake off any loose glitter.
- After shaking off the loose glitter, take your foam brush and paint an even coat of mod podge over your layer of glitter covering all spots of glitter. After you have covered the entire outside of your jar let it sit for 4 hours or until this layer of mod podge dries clear.
- After you have let the outside of your jar dry clear, your layer of glitter is now sealed shut and your glitter jar is ready to use!


0 comments:
Post a Comment